

P-82 Twin Mustang RC Build
Follow the journey of restoring and converting a rare P-82 Twin Mustang ARF into a fully custom electric RC plane. From swap meet find to maiden flight, this build highlights creative problem solving, custom fabrication, and vintage warbird passion.
RC swap meets are some of the best places to go, whether you are looking to get a deal on a new plane for yourself or maybe looking to snag something on the older and more rare side of things. This last January, I attended a local swap meet with some friends of mine when I stumbled across someone who was trying to thin out their extensive collection of old ARF airplanes.
Among the collection sitting on the table were some old Great Planes and Hangar 9 ARFs, which all looked super enticing. However, it was what was slightly hidden underneath the table in an unlabeled box that caught my eye. That, of course, was a P-82 Twin Mustang ARF that was brand new and still sealed in the protective plastic bags. For $150, it was a hard deal to pass up, and it quickly found its way home with me.
Identifying the Kit
Once home and out on the build table, I had to do some research to figure out what exactly I was looking at—and what I had just dropped $150 on. The seller told me that it was a World Models P-82, which, if that were the case, meant I had scored an incredible deal on an old and rare model airplane.
However, I soon realized that was not the case. Instead, it was a replica of the World Models kit from Nitro Planes. Still old, still kind of rare, but not exactly what I was hoping for. Either way, I had a basically brand-new, unique airplane to get to work on.
This plane was released in the mid-2000s and was intended for a pair of .40-size four-stroke engines. That sounded really awesome in theory—until I realized that it was going to cost me nearly $500 to $600 to source said engines for this plane. That realization quickly helped me decide that an electric conversion was going to be the best option for this plane. Or at least I thought.

A Brief History of the P-82
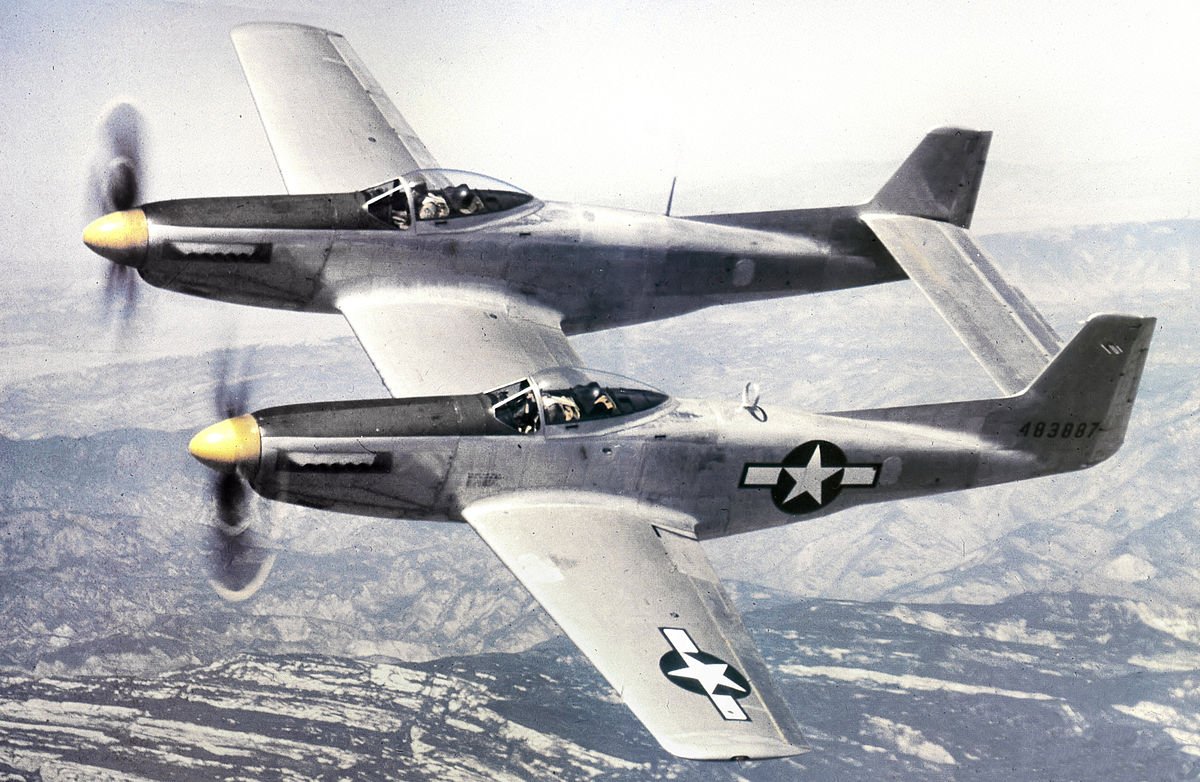
The P-82, or F-82 depending on the year, is a very unique airplane that was built for the specific purpose of long-range bomber escort for bombers such as the B-29 Superfortress. With two fully functioning cockpits, one on each side, two pilots could trade off flying longer missions. It later found roles as an interceptor and even played a pretty crucial role in the Korean War.
Unlike conventional twin-engine planes, the use of two fuselages made this airplane incredibly unique—but also made for a surprising number of issues when converting it into an RC flying model.
Initial Assembly and Design Challenges
After taking everything out of the box for the first time and starting the initial assembly of this plane, it was evident that this was not going to be an easy build—especially when looking to convert it to electric power. Double fuselages essentially meant double the work, and with no central fuselage to act as a hub for electronics, batteries, and radio equipment, issues with the design quickly became clear.
Soon, I had a to-do list of problems that I was going to need to solve to ensure this plane would not only fly but also be able to be transported without having to disassemble the entire airframe.
Problem #1: Wing Assembly and Transportation Concerns
With the instructions calling for the three-piece wing to be epoxied together into one piece, it raised a few concerns. One being that the center portion of the wing acts as a passage for all of the servo wires to run from one side of the fuselage to the other. Having to remove the entire wing for transport meant unplugging a rat’s nest of wiring every time it is brought to and from the field.
The other concern was that without the wing attached, nothing would hold the two fuselage halves together except the horizontal stabilizer, which would be prone to breaking if the fuselage halves were moved around too much without the wing holding them together. I was quickly realizing that field assembly time would be a nightmare if I followed the instructions.
Instead, I decided to make the outer wing panels removable, so the center section of the wing could remain attached for transport—making transport much easier and less prone to damage, as well as reducing field assembly time.
To make these outer panels removable, I epoxied the two wing joiners into the outer wing panels. I then drilled holes and epoxied in ½” rare earth magnets into the outer panels and center section. With the addition of some shims to the wing joiners, the outer panels fit snugly into position, where they snapped into place firmly by the magnets. For extra measure, I used screws on the bottom side of the wing that secured the wing joiners to the center section of the wing.


Installing THE Electronics
With problem #1 out of the way, it was time to get some electronics installed. Throughout this plane, I used 6 Hitec HS-425BB Standard Servos—enough to get the job done reliably without breaking the bank. One side of the fuselage got two servos for the rudder and elevator, while the other side only needed one for the rudder. One servo was installed for each aileron in the outer wing panels, and finally, one last servo for the flap in the center wing section.
While assembling the airframe itself, I began to despise the included hardware that came with this plane. Not only did half of it not match what was shown in the instructions, the quality was extremely poor. This especially became apparent when attempting to install the included mechanical retracts.
I have never had the best luck with mechanical retracts in the past, and these ones proved no different. Along with the six standard Hitec servos, I also picked up an HS-75BB low profile retract servo that would be installed in the center wing section. After installing the servo into position, I ran into another issue. The servo—even though it is low profile—sat too high and would stick through the top of the wing. Obviously, a no-go.
The solution? Electric retracts. With some modification, I was able to use parts of the mechanical retracts and some new Dynam electric retract bases to Frankenstein some new landing gear for this plane.
The Electric Conversion
The final step was the big one that I was kind of dreading at this point—how was I going to actually convert this plane to electric power? No motor mounts, no access hatches for batteries, and not a single forum to reference for help. So here we go.
The first step was to mount the motors. I decided to power this plane with a twin 4S LiPo setup. For motors, I selected a pair of Hobbywing Skywalker 2826SL Brushless Motors paired with some 80A Skywalker ESCs. These would be powered by a pair of 4S 4000mAh LiPo packs.
For the motor mounts, I built some custom standoffs with long machine screws and thick-walled aluminum tubing. By using washers as spacers, I was able to get the position and thrust angle just right for each side. With the motors installed, I was feeling pretty good—but the bigger problem was going to be finding a way to add the 4S LiPo battery packs to each fuselage without having to take the wing off.
My solution was to use one of the cutouts on the inside wall of each fuselage to create a custom access hatch. Using a hobby knife to cut the covering away, I used it as a template to create a hatch, which I cut out of some ⅛” balsa. I then used the same piece of covering to iron onto the new hatch cover. Some old servo arms I had lying around made perfect use for a custom latch mechanism that worked incredibly well.
With the ability to access the inside of the plane through the new hatches, the last major step was to figure out where and how to mount these 4S battery packs in a way that worked best with the center of gravity of this plane.
The best solution I found was to use the spot that would have been used for fuel tanks if I had gone the nitro engine route. After taking some measurements and whipping up a custom battery tray in Fusion 360, I printed out these new battery trays with my 3D printer. With the help of some Velcro, these battery packs finally had a home.


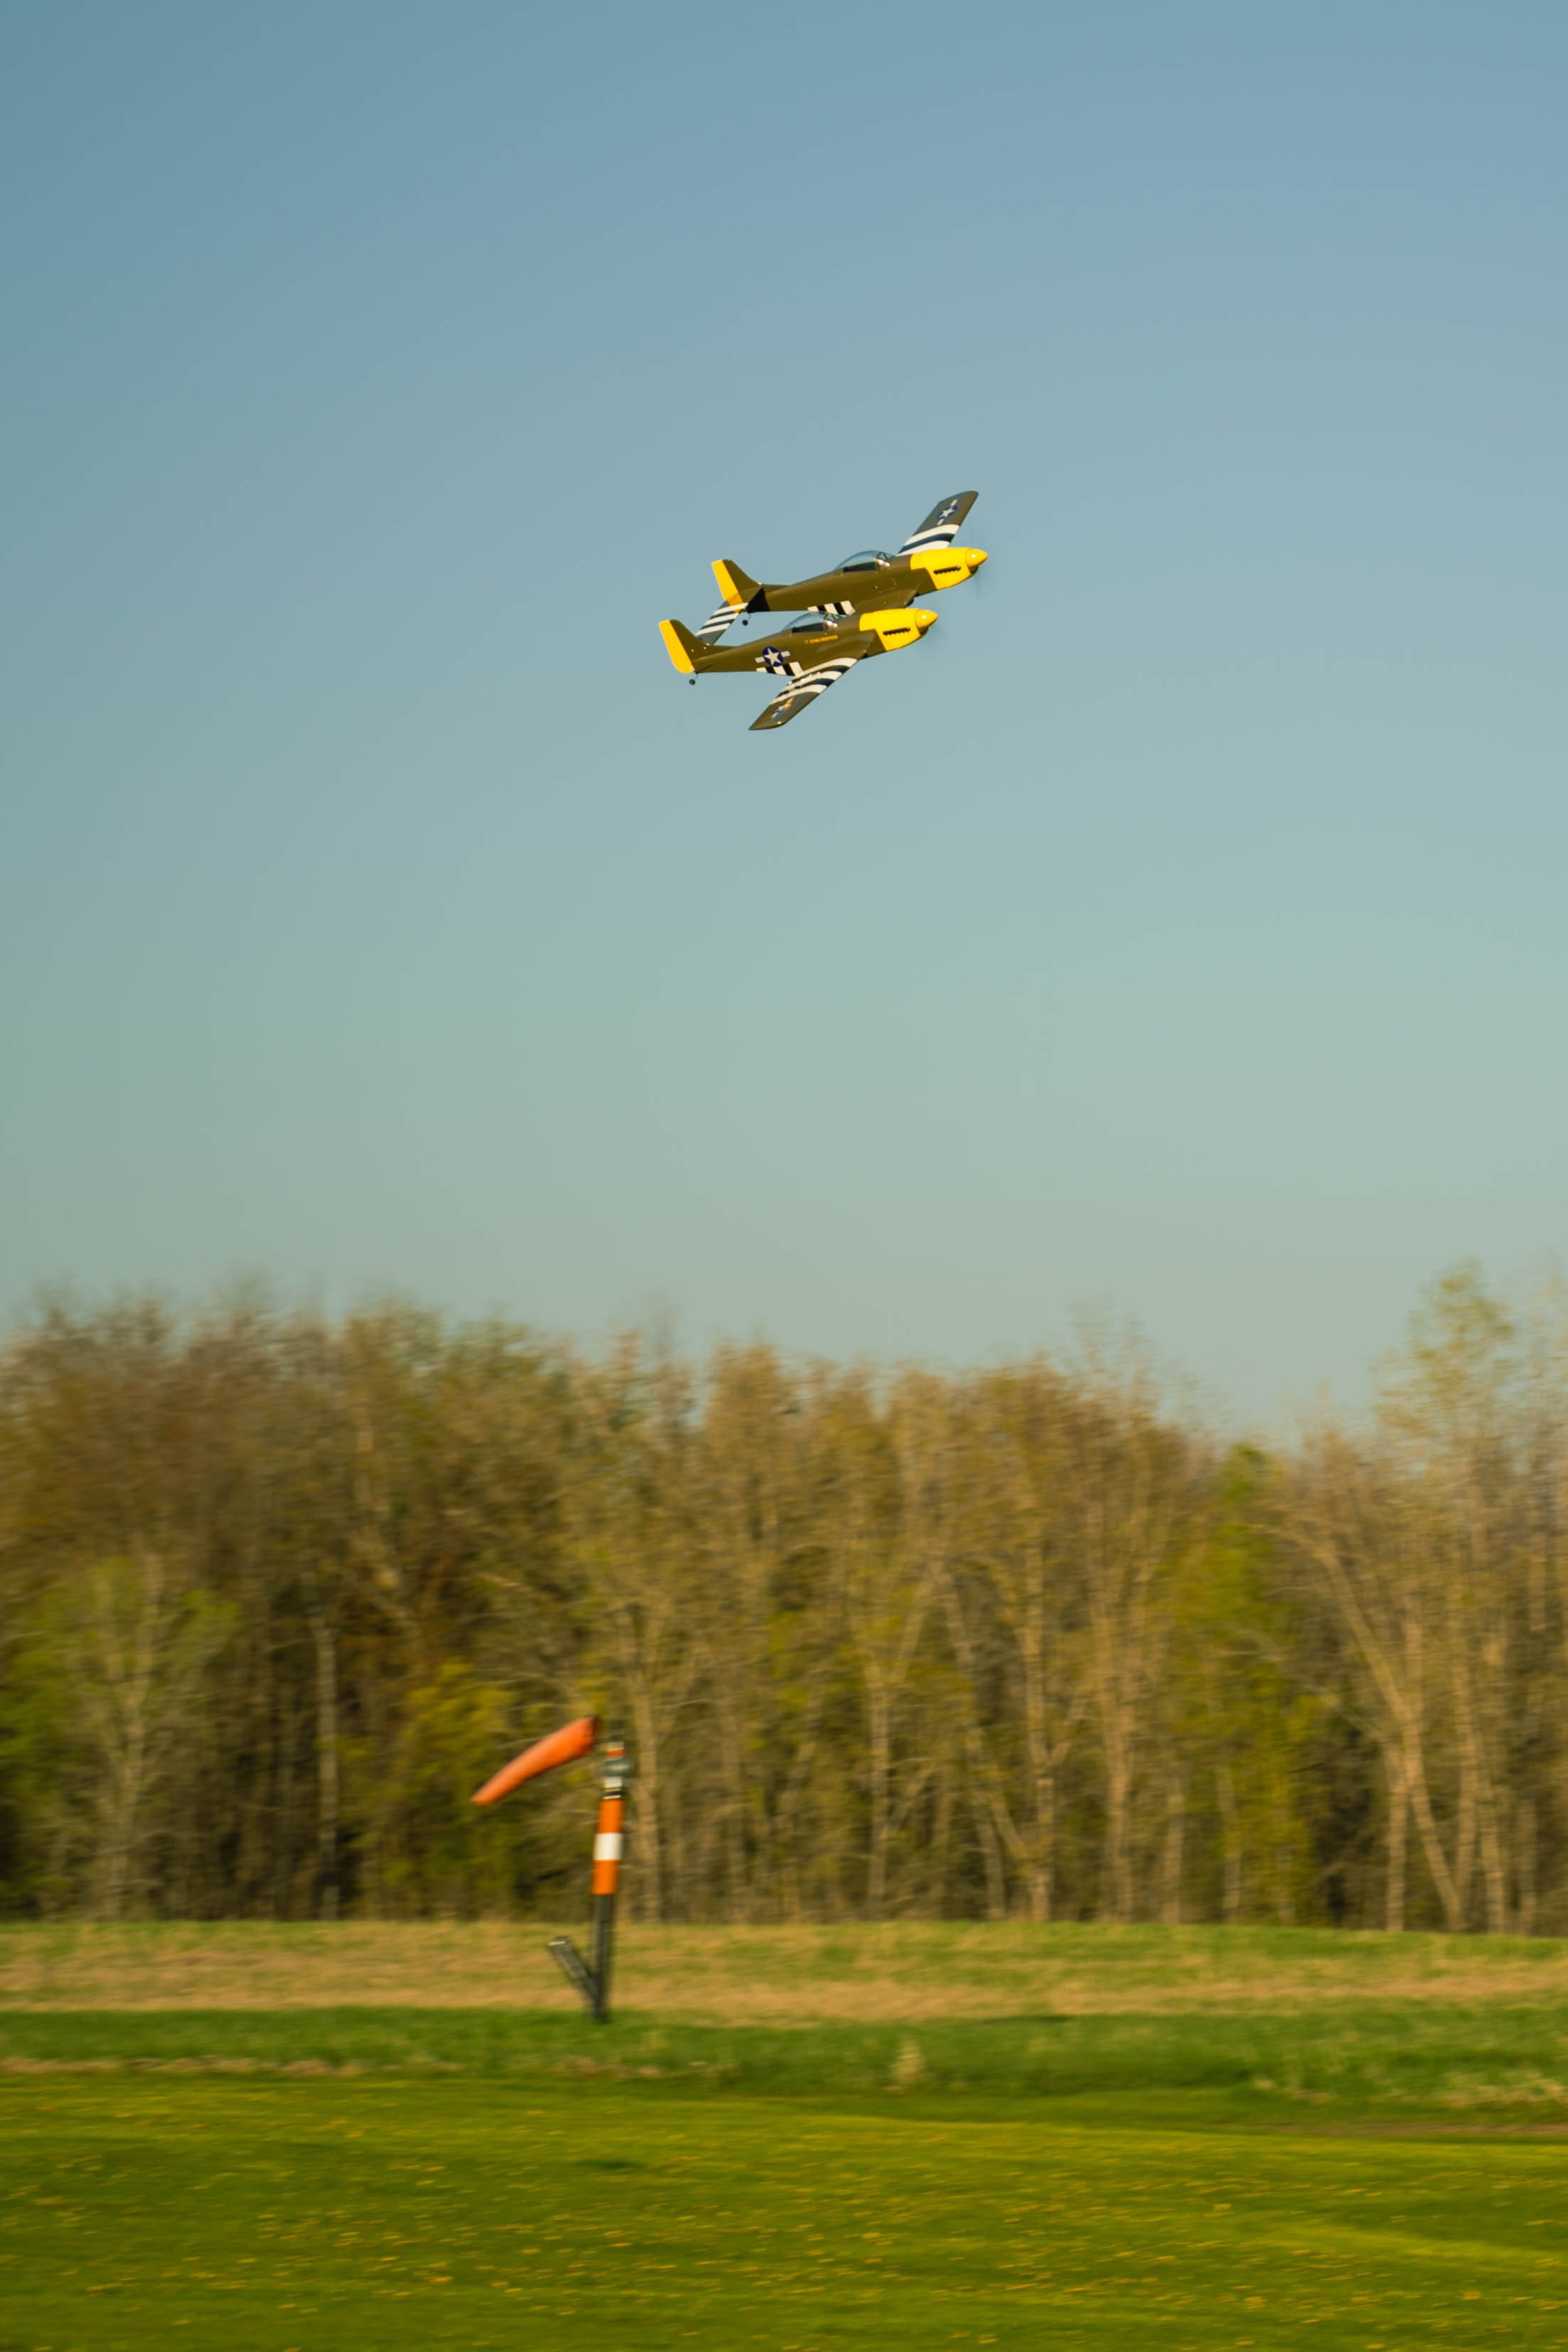
The Maiden Flight
What felt like a never-ending engineering capstone project was finally complete and in one working piece on my workbench. All in all, this project took me 5 months to complete, and it was finally ready for its maiden flight.
I’ve been flying RC planes for a long time, and I honestly couldn’t remember the last time I had the nerves hit me a bit for a maiden flight. But this one definitely did it. With all of the time, money, and investment from the fans on my social media accounts—I was without a doubt a little nervous about this one.
The amount of customization and modifications that have been done to this plane were going to be put to the ultimate test. And all I could do was triple-check everything and cross my fingers. With the batteries loaded in and everything looked over one last time, it was finally time to get this bird in the air.
A slow run-up of the throttle—the twin motors yanked this plane into the air. Seriously, I could not believe how short the takeoff roll was. But there it was—IN THE AIR! And I honestly could not believe how well it was flying. A few clicks of trim were all that was needed, and it felt right at home cruising through the sky.
After making sure everything was going to be alright, I brought this beauty in for some photo passes, celebratory rolls, and high-speed passes. And after about 5 minutes or so, it was time to drop the retracts and bring it in for a landing.


Final Thoughts
This has been one of my biggest and most challenging RC projects to date, but I couldn’t be more happy with how everything turned out. I feel like I’ve learned so much, and the result of seeing this thing in the air for the first time—flying as good as it did—was a priceless payment.
Make sure to check out the full build series of this P-82 Twin Mustang on my socials!
YouTube - https://www.youtube.com/@Hangar14RC
Instagram - https://www.instagram.com/hangar14rc/
TikTok - https://www.tiktok.com/@hangar14rc
Full Parts List
2x Hobbywing Skywalker 2826 SL Brushless Outrunner Motors (850kV)
Miscellaneous Hardware

BEFORE YOU FLY THE FMS F-16 FIGHTING FALCON 64mm
The FMS 64mm F-16 Fighting Falcon is a highly detailed, compact RC jet modeled after the iconic multirole fighter. With impressive scale features like bright navigation lights, a detailed cockpit, and a powerful 12-blade fan, it offers both performance and style. In this review, I cover key aspects of the model, from assembly and flight characteristics to the pros and cons of its design. Whether you’re flying off grass or a smooth runway, the FMS F-16 proves to be a thrilling and affordable option for EDF jet enthusiasts.
The F-16 Fighting Falcon is one of the most recognizable and iconic multirole fighter aircraft in the world. Developed by General Dynamics (now Lockheed Martin) and first flown in 1974, it’s renowned for its agility, versatility, and high thrust-to-weight ratio. This aircraft has not only made history in the skies but also become a favorite in the RC community. FMS recently released their version of the F-16, and if you’re considering getting your hands on one, here’s everything you need to know before you fly the FMS 64mm F-16 Fighting Falcon.
Specs and Information
The FMS 64mm F-16 comes in two versions: a military livery and a Thunderbirds livery. While the Thunderbirds version you see here is beautifully decked out in its iconic red, white, and blue, the military version comes with an additional ordinance package, adding a touch more realism.
With a wingspan of 28 inches and a length of 42.9 inches, this lightweight model weighs approximately 1070g for the Thunderbird version and 1350g for the military version, fully loaded. Powering the plane is a 12-blade 64mm fan driven by a 2840 3150KV brushless motor and paired with a 40-amp ESC. It’s a Plug and Play model, so all electronics come pre-installed, requiring only a 6-channel receiver and a 4S 2200mAh LiPo battery.
The model features six 9-gram digital servos with high-quality ball link connectors, providing control over ailerons, elevators, rudder, and a steerable nose wheel. While the landing gear is fixed, it mimics the real F-16's design and includes shock absorption on the nose gear, ensuring smoother landings. The bright navigation lights make this jet even more appealing, especially during twilight flights.
For around $200, this model offers great value. But how does it perform in the air? After numerous flights, I’ve compiled the highlights, the downsides, and some tips before you take it out for your maiden flight.

The Good
FMS has done a stellar job replicating the F-16’s scale details. The Thunderbirds livery looks stunning, and the aircraft has more than just basic molded foam features. From the detailed landing gear to the easily removable cockpit (thanks to a convenient button rather than tape), attention to detail is apparent. The LED navigation lights are bright and add a lot of character to this jet when flying later in the day.
Assembly is quick, though the 10-minute claim on the FMS website may be a bit optimistic. In reality, you’re looking at about 25-30 minutes for a full build, plus time for glue to set in some areas. Even still, it’s a straightforward process, and you’ll have a solid model ready for action in no time.
One of the most pleasant surprises with this jet was its ability to take off from our grass runway. This is unusual for 64mm EDF jets, which typically require smooth surfaces due to their fixed landing gear. While it’s not ideal, the FMS F-16 can handle grass, making it a versatile option for various flying conditions.

The Not So Good
While the FMS F-16 is an overall great model, a few aspects fall short. First, the elevators are cut into the stabilizer rather than featuring a full-flying stabilizer like on many real F-16s and other RC jets. This setup is functional but could have been improved, especially considering other jets in the same class, offer a full-flying stabilizer for better control.
Another downside is that the vertical stabilizer is glued in place, with the servo wire running through it. While this is not an uncommon practice, it could make maintenance more challenging if the servo fails down the road. I would have preferred a screw-mounted stabilizer for easier access and replacement.

What to Expect When Flying
Flying the FMS 64mm F-16 is a blast! However, there are a few quirks to be aware of, especially if you’re new to EDF jets or F-16 models. The real F-16 has a notoriously narrow wheelbase, which makes it prone to tipping over during turns at low speeds. The RC version shares this trait, so caution is needed when taxiing. On grass, it’s better to walk the plane out to the runway instead of trying to taxi it, as sharp turns can cause it to tip over.
Once airborne, the F-16 is a treat to fly. It handles scale aerobatics beautifully, but it’s important to manage your airspeed during maneuvers since the jet’s power, while decent, isn’t overwhelming. High alpha maneuvers are possible but would benefit from full-flying stabilizers for better control at low speeds. Expect flight times of around 3.5 to 4 minutes, depending on your throttle management and flying style.
Lastly, pay close attention to the center of gravity (CG), especially if you’re flying the military version with extra ordinance. Even small adjustments to the battery position can significantly impact the plane’s performance. Make sure to check your CG with the plane upside down and mark the correct battery placement to ensure consistent performance.

Conclusion
As my first FMS plane, the 64mm F-16 has left a great impression. It offers excellent value at its price point and delivers both in terms of scale details and flying experience. While there are a few areas where it could be improved, it’s still a solid choice for anyone looking to add an EDF jet to their collection. I’ve had a lot of fun flying this model, and I hope this review helps you decide if it’s the right fit for you.

Before you fly the Freewing mirage 2000c 80mm
What You Should Know Before You Fly the Freewing Mirage 2000C 80mm
Dassault mirage 2000c
The Mirage 2000C, a French multirole, single-engine fourth-generation jet fighter developed by Dassault Aviation in the early 1980s, is celebrated for its versatility and advanced technology. But how well does this iconic aircraft translate into the world of RC planes? I'm Alex from Hangar14, and here’s everything you need to know before you take to the skies with the Freewing 80mm Mirage 2000C.

Freewing Mirage 2000C 80mm High Performance EDF - Hangar14RC
Specifications and Details
The Freewing Mirage 2000C has been around for a few years, currently in its V2 variant. This Delta wing jet fighter measures 49.2 inches in length with a 31.1-inch wingspan. It's equipped with a powerful 12-bladed 80mm ducted fan, driven by a 2150kv brushless motor and a 100A speed controller, ideally paired with a 6S 4000mAh LiPo pack. Offered as a plug-and-play model, it requires only a receiver and a compatible battery to get airborne. For this review, I used my reliable DX6 radio and Spektrum AR630 receiver.
Assembly is straightforward, involving tasks such as gluing the exhaust nozzle, installing the vertical stabilizer, attaching the main landing gear, and adding some final touches like the drop tank rails and plastic details. This simple assembly process takes a few hours, resulting in a stunning model jet with detailed decals, panel lines, and a meticulously designed cockpit. The Mirage features electronic retracts and a gear door for the front gear, robust enough to withstand rough landings. The included “Tiger Meat” livery offers enhanced visibility, though I opted for the original color scheme.
This plane utilizes four servos: one for each elevon, one for the rudder, and one for nose gear steering. All servos are Freewing Digital Hybrid metal gear servos, pre-installed and ready to go. Now that you’re familiar with the basics, let’s delve into my experiences and observations with this jet, highlighting the good, the not-so-good, and some crucial tips before your first flight.

Freewing Mirage 2000C 80mm High Performance EDF - Hangar14RC
The Good
First, the Freewing Mirage 2000C is impressively set up right out of the box. The upgraded 12-bladed ducted fan delivers incredible sound and performance. This jet is the fastest in my collection, yet it also excels at low speeds, maintaining stability and ease of control for smooth landings. The delta wing design ensures manageable stalls, typically only causing the nose to drop.
Grass runway performance can be a concern for EDF jets, but the Mirage’s landing gear has proven resilient with multiple landings and takeoffs from our local grass strip. The powerful motor allows for quick takeoffs, and the plane’s ability to slow down for landings helps keep landings soft and protect the undercarriage.
Transporting the Mirage is convenient due to its compact wingspan and detachable magnetic nose cone, fitting easily into my car trunk or on my storage rack.
The Not-So-Good
While the Mirage 2000C has many strengths, it’s not without a few drawbacks. Wiring management inside the plane is challenging due to the tight space, demanding patience and some ingenuity with tools like a hooked wire to help feed the servo wires up through the fuselage.
The nose gear door system, relying on a spring mechanism, can be problematic. Accidental bumps may cause the door to flip up, potentially jamming the gear retraction. Although it’s a minor issue, it’s something to be mindful of. So make sure to check that it is in the down position before takeoff.
Additionally, the drop tanks have magnets that can come unglued. A bit of extra glue can easily fix this, but id recommend double-checking them beforehand if you are planning to use them.

Freewing Mirage 2000C 80mm High Performance EDF - Hangar14RC
What to Expect When Flying
Here are some insights from my flying experience with the Freewing Mirage 2000C:
Roll Rate: The Mirage has an exceptionally fast roll rate. Dual rates and expo settings are crucial for taming this feature. I recommend setting low rates to 50% and adding 20-25% expo for smoother control.
AS3X or SAFE Integration: While possible with a six-channel receiver, setting up AS3X or SAFE requires creative solutions. I found manually mixing the elevator and aileron channels left an open channel for flight modes and AS3X. However, the gyro isn’t essential for this plane, and high gains can cause aggressive gyro wobbles. Keep the gain low and assign AS3X to a switch for easy control.
Visibility: The gray camouflage and high speed can make orientation challenging. Consider using the “Tiger Meat” decals if you find it hard to see in the sky.
Battery Life: A second battery pack is a worthy investment. The flight time is decent at 3.5 to 4 minutes, but you’ll likely want more. Battery packs are pricey but worth it for extended flying sessions.
Skill Level: The Mirage requires a moderate skill level due to its speed and agility. It’s best suited for pilots with prior EDF jet experience or significant flight time.

Freewing Mirage 2000C 80mm High Performance EDF - Hangar14RC
Conclusion
The Freewing 80mm Mirage 2000 V2 is a fantastic model, blending stunning looks with impressive performance. It’s a head-turner at any flying field, capable of both high-speed passes and slow, controlled flights. For an added touch, consider installing an afterburner—it’s an inexpensive upgrade that looks incredible.

Before you fly the eflite sr-71 blackbird
What You Should Know Before You Fly the E-Flite SR-71 Blackbird
Lockheed sr-71 blackbird
The Lockheed SR-71 Black Bird is a marvel of aviation history, known for its unofficial top speed of Mach 3.3 and its ability to soar at over 85,000 feet while outrunning missiles. Now, E-Flite brings this iconic aircraft to the world of radio control. I’m Alex from Hangar14, and here's everything you need to know before you fly the E-Flite SR-71 Blackbird.

E-Flite SR-71 Blackbird BNF - Hangar14RC
Specifications and Features
E-Flite unveiled their compact SR-71 model in late Summer 2023. With a length of 37.6 inches and a wingspan of 19.9 inches, it matches the size of typical 64mm EDF jets. Instead of a single 64mm ducted fan, it boasts dual 40mm ducted fans driven by 6800kv brushless motors. The recommended battery is a 4-cell 2200mAh LiPo, leading to a takeoff weight of about 29.4 ounces.
This Bind and Fly Basic model comes equipped with AS3X and SAFE technologies, ensuring stability in the air—a necessity given the SR-71’s design. The plane's EPO foam construction provides detailed panel lines and a sleek look. The landing gear mirrors the real SR-71’s triple-wheel setup, though they are non-retractable and snap into place.
The SR-71 includes two sets of vertical stabilizers: standard black and a red pair for better visibility. Control surfaces are limited to elevons, with no rudder, but the steerable nose wheel is a practical addition. Four linear Spektrum servos come pre-installed, keeping the model lightweight and compact.

E-Flite SR-71 Blackbird BNF - Hangar14RC
The Highlights
Out of the box, the EFlite SR-71 requires minimal assembly. Just attach your preferred tail set and landing gear. The ball link connectors for control surfaces are user-friendly and effective. The plane’s compatibility with the 4S 2200mAh LiPo battery used in other Horizon and EFlite models is a bonus, as you can reuse your existing batteries.
Transporting the SR-71 is a breeze due to its compact wingspan. The removable rubber nose cone prevents damage during transport, but just know you will never be able to get it perfectly straight. Priced at $250, it’s a reasonable deal, especially given its dual motors. Despite some quirks, it’s one of my favorite planes to fly right now and it looks stunning in the sky.
The Drawbacks
Despite its small size, the SR-71 feels heavy in the air. Its design demands high speed for lift, relying on the power of its 6800KV brushless motors and 40mm fans. This means you’ll be flying at full throttle most of the time, with limited authority for climbs and maneuvers.
The iconic engine nacelle intake cones, while visually accurate, reduce the efficiency of the EDFs. The additional intakes at the back help, but performance is still impacted. AS3X and SAFE are crucial for maintaining stability, especially during tight turns and low-speed flight.

E-Flite SR-71 Blackbird BNF - Hangar14RC
Flying Tips
Before your first flight, here are some key points:
Paved Surface Required: The tiny wheels can’t handle grass, you will need a paved runway for takeoff and it will take a bit to get into the air.
Low Ground Clearance: Be cautious during takeoff and landing to avoid scraping the rear end. Fortunately, the rear is made of plastic, which handles scrapes better than foam.
Secure Landing Gear: Ensure the landing gear is properly snapped in place. A loose gear can detach upon landing, causing damage.
Visibility Matters: The red tails enhance visibility, crucial for maintaining orientation during flight. Even experienced pilots might struggle with the all-black look.
Space Needed: Fly in a large area. The SR-71’s flight characteristics require gentle stick movements and wide turns, needing more room than you might expect.

E-Flite SR-71 Blackbird BNF - Hangar14RC
Conclusion
The EFlite SR-71 is labeled as a skill level 3 “Experience Required” airplane for a reason. Even seasoned pilots might find it challenging due to its unique flying dynamics. However, transforming the legendary SR-71 into a flyable RC model is no small feat. While not perfect, it’s far from a bad model. I’m excited to continue exploring its capabilities, including hand launches without landing gear.